
When to Repair or Replace Insulation
Attic insulation degrades over time, and Malibu’s coastal environment can accelerate certain problems. Salt air encourages corrosion at fasteners, fog and marine layers add moisture risk, and intense sun elevates attic temperatures. If your rooms under the roof feel hot in the afternoon, your HVAC runs more than usual, or you see signs of pests or moisture, it may be time to repair or replace your attic insulation. A strategic plan for attic insulation repair or replacement can restore comfort, control humidity, and improve the durability of your home.
This guide covers how to assess damage, when to repair versus replace, and what steps lead to a clean, code-aligned upgrade tailored to Malibu homes.
Signs Your Insulation Needs Attention
– Temperature swings: Rooms beneath the attic heat rapidly on sunny days or feel drafty at night. – Visible gaps: You can see tops of joists, or insulation looks uneven and matted. – Moisture: Stains on sheathing, musty odors, or rust on fasteners. – Pest activity: Droppings, nests, chewed materials, or disturbed insulation. – Smoke or ash residue: After wildfire smoke events, particulate contamination can affect insulation cleanliness. – Aging materials: Old and degraded batts or crumbling loose-fill that no longer performs.
Inspection and Diagnosis
Start with a careful inspection. Bring lighting and protective gear, and work only on joists or secure boards. Look for roof leaks at valleys, penetrations, and flashing. Verify bath fans vent outdoors. Examine around chimneys, flues, and recessed lights for proper clearances and signs of overheating. Identify the insulation type and measure its depth. If contamination is present, note the affected areas and the likely source (leaks, pests, or smoke).
Repair vs. Replacement
– Repair: Minor gaps, localized moisture intrusion that has been fixed, or small areas of pest disturbance can often be addressed by removing affected material, disinfecting as appropriate, air sealing, and topping up with new insulation. – Replacement: Widespread contamination, long-term moisture issues, or severely degraded materials typically call for full removal and replacement, accompanied by robust air sealing and ventilation improvements.
Moisture and Mold Considerations
Moisture is the enemy of insulation performance. If you discover mold, consult appropriate remediation guidance and correct moisture sources before reinstalling insulation. Ensure bath and kitchen fans exhaust outside, repair roof leaks, and maintain clear ventilation channels. In Malibu’s humid coastal air, controlling indoor air leakage into the attic can make the difference between a long-lasting upgrade and a recurring problem.
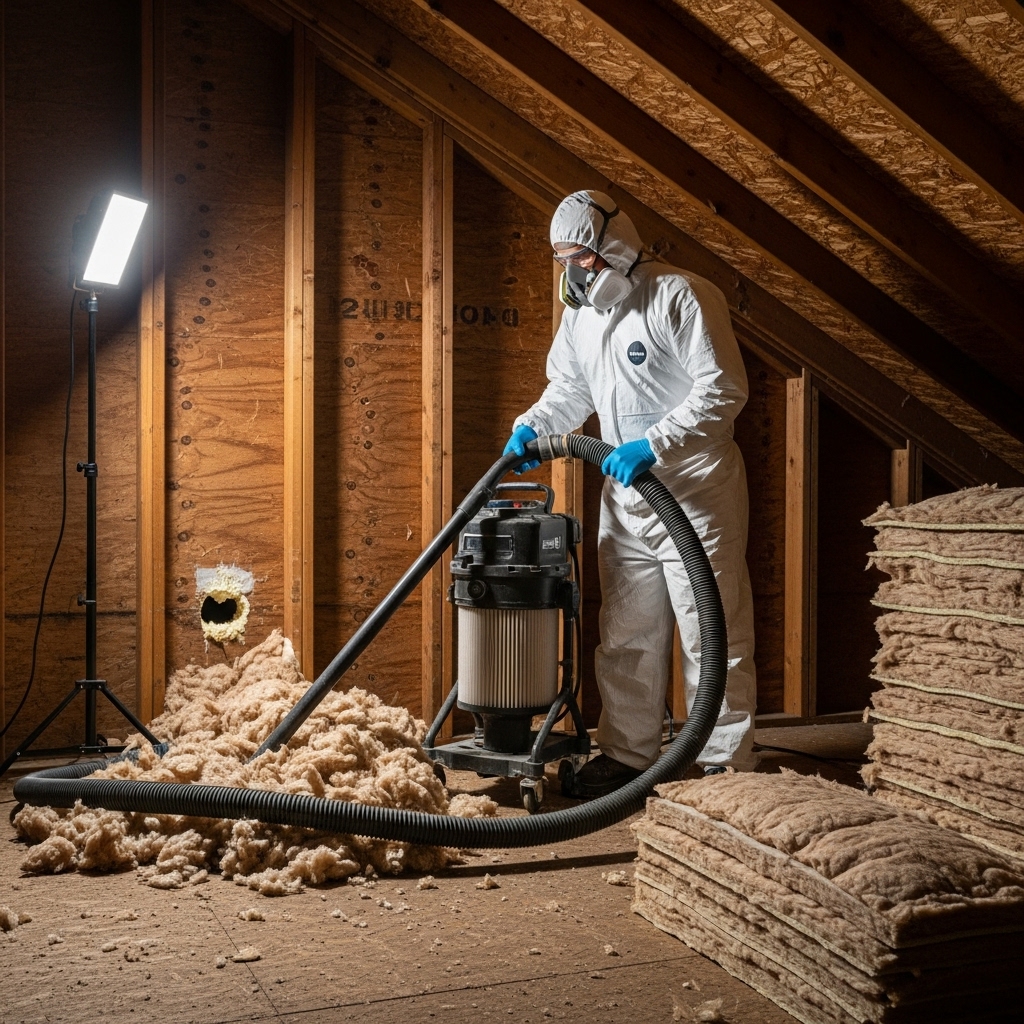
Rodent and Pest Cleanup
Pest contamination requires methodical cleanup. Remove soiled insulation, vacuum with appropriate filtration, and seal entry points at eaves, vents, and penetrations. After remediation, air seal the ceiling plane and install fresh insulation to the target R-value. Do not reinstall over contaminated material; odors and health concerns can persist if not properly addressed.
Fire, Smoke, and Ash
Wildfire smoke can leave ash and fine particulates in attics. If residues are light and localized, targeted cleanup and partial replacement may suffice. If contamination is widespread, full removal, cleaning, and re-insulation offer a healthier, longer-term solution. During reinstallation, verify that ember-resistant vent screens are intact and compliant with local guidance to reduce future risk.
Air Sealing During Repairs
Repairs are the perfect time to upgrade air sealing. Seal top plates, chases, and penetrations. Weatherstrip and insulate the attic hatch. These measures improve comfort, control moisture, and enhance the effectiveness of the new insulation layer, delivering better results than replacement alone.
Choosing Replacement Materials
For open attics, loose-fill fiberglass or cellulose provides uniform coverage. Batts can be effective in accessible joist bays and are useful for trimming around obstacles. Mineral wool adds robust fire resistance and sound control. Select materials that deliver your target R-value (often R-38 to R-49 for Malibu) and that you can install consistently and safely. Always follow manufacturer instructions.
Replacement Process Overview
1) Remove damaged or contaminated insulation safely and dispose of it properly. 2) Clean the attic, including vacuuming fine particulates if needed. 3) Correct the underlying problems: fix leaks, establish proper venting, and close pest entry points. 4) Air seal thoroughly. 5) Install baffles to maintain soffit airflow. 6) Choose your installation method: blow loose-fill to a consistent depth using markers or place batts carefully without compression. 7) Insulate and weatherstrip the attic hatch. 8) Perform a final quality check for depth, coverage, and clearances.
Quality Assurance and Midpoint Checks
During replacement, stop for a midpoint inspection. Verify that ventilation channels remain clear, measure installed depth, and confirm that junction boxes are accessible. This is also an opportunity to ensure your selected attic insulation is being installed evenly and that you are on track to reach the target R-value across the entire attic floor.
Working Around Ducts and Equipment
If ducts run through your attic, seal seams and insulate to reduce heat gain. Maintain clear access to mechanical equipment and follow all clearance requirements around flues, exhausts, and recessed lighting. Label service points to make future maintenance easier. Do not bury active junction boxes or impede service access to equipment.
Aftercare and Monitoring
Once repairs or replacement are complete, schedule periodic attic checks. Look for displaced material, signs of renewed pest activity, or moisture intrusion after heavy coastal fog or rain. Maintain ventilation by keeping soffits and ridge or roof vents unobstructed. Observing your attic over time protects your investment and supports steady indoor comfort.
Frequently Asked Questions
Q: How do I know if I should repair or replace? A: If problems are localized and you have corrected the source, repairs may suffice. Widespread contamination or degraded materials call for full replacement to achieve reliable performance.
Q: Can I install new insulation over old? A: Yes, if the existing insulation is dry, clean, and odor-free. If not, remove and clean before reinstalling.
Q: What R-value should I target in Malibu? A: Many attics aim for R-38 to R-49 depending on conditions, roof assembly, and current code guidance.
Q: Will better attic ventilation help? A: Yes. Proper ventilation reduces heat buildup and helps control moisture, which improves insulation longevity and performance.
Q: Do I need a professional? A: Complex attics, contamination, or tight spaces often benefit from professional handling, especially when removal and cleanup are involved.
Restore Comfort in Your Malibu Home
If your attic shows signs of damage, contamination, or inadequate coverage, a methodical repair or replacement can make your home quieter, more comfortable, and easier to cool. Address root causes, upgrade air sealing, and install new material to a consistent depth with proven techniques. When you are ready to move ahead with a clean, durable upgrade, connect with local specialists and ask about best-practice attic insulation solutions for Malibu homes.