
California homeowners face a unique blend of climate realities, from salty marine air and fog to desert heat, alpine winters, and seasonal wildfire concerns. A successful insulation installation balances thermal performance, air control, moisture management, and ventilation—while meeting the spirit of the state’s energy efficiency standards. This guide walks you through planning, product selection, and best-practice techniques so your home feels comfortable year-round and uses less energy without compromising durability.
Whether you live in a coastal cottage or a Central Valley ranch, your starting point is understanding what your building needs. Get familiar with R-values, air sealing, ventilation strategies, and common problem areas. If you prefer an expert hand at any stage, consider engaging local specialists in insulation installation who understand California’s code expectations and climate nuances.
With a thoughtful plan, the improvements you make today can serve your home for decades. The sections below outline the essentials: safety, material choices, step-by-step methods for attics, walls, and crawl spaces, and the quality checks that safeguard performance long after the job is done.
California Context: Climate Zones and Energy Goals
California’s energy code aligns performance with climate zones that range from cool and moist to hot and dry, with many microclimates in between. That diversity affects the R-value targets you choose and how you treat moisture and ventilation. Higher solar exposure demands robust attic levels, while foggy or high-humidity regions call for careful air sealing and temperature control that minimizes condensation.
Beyond energy savings, insulation contributes to acoustic comfort and indoor air quality. Properly sealed and insulated assemblies reduce dust, pollen intrusion, and drafts. They also help maintain steadier indoor temperatures that support HVAC efficiency and equipment longevity.
Safety Essentials
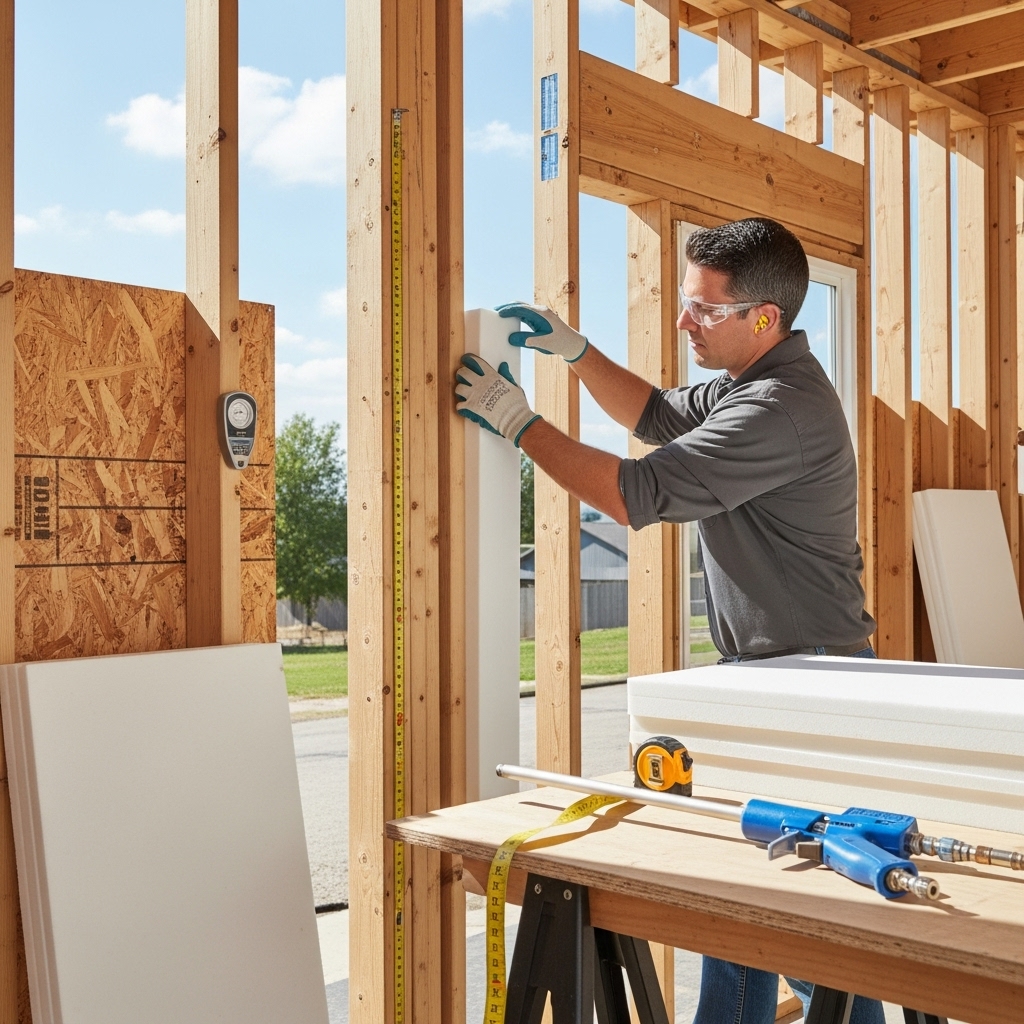
Work safely with gloves, long sleeves, eye protection, and a suitable respirator. Turn off power to areas where you will be active, and use temporary planks and bright lighting in attics. In crawl spaces, carry a headlamp and wear protective clothing. Be alert for electrical junctions, non-IC-rated recessed lights, and clearances around flues and chimneys. Keep a fire extinguisher nearby, and never block mechanical ventilation or combustion air paths.
Material Options and Where They Shine
Fiberglass batts are familiar and widely available. They perform best when cut precisely to fit cavities without compression or gaps. High-density batts suit 2×4 walls while thicker batts fill 2×6 cavities or attics between joists and rafters.
Cellulose is a loose-fill or dense-pack option that conforms to irregular spaces and offers good sound control. In attics, cellulose can blanket joists uniformly; in walls, dense-pack methods reduce settling and improve air resistance when installed at the right density.
Mineral wool batts provide added fire resistance and maintain their shape in tricky cavities. They are useful near areas that benefit from higher temperature tolerance and in homes prioritizing acoustic improvements.
Foam products include spray polyurethane foam for high R-value per inch and air sealing in one step, and rigid foam board for continuous insulation layers that mitigate thermal bridging. Foil-faced boards add radiant control when installed with air spaces per manufacturer guidance.
Air Sealing and Moisture Management
Before any insulation is added, close the holes. Air movement carries moisture and undermines insulation performance. Seal gaps around plumbing penetrations, wiring, top plates, and attic hatches. Use fire-rated sealants near flues. In attics, install baffles at eaves to maintain ventilation paths above the insulation, and ensure bath and kitchen fans discharge outdoors.
In coastal and mountain areas, managing moisture is critical. Balance airtightness with controlled ventilation. Consider whole-house ventilation strategies where appropriate, and avoid creating moisture traps by incorrectly placing vapor retarders. California homes often perform best with air barriers and targeted vapor control rather than heavy interior vapor barriers.
Planning R-Values and Coverage
Attics typically deliver the best return on effort. Many California homes aim for R-38 to R-49 in attics. Wall R-values depend on framing depth and construction, while floors above crawl spaces often target R-19 or higher. Confirm local recommendations and ensure your selections match your home’s assemblies.
Decide whether to supplement existing insulation or remove and replace it. If existing material is dirty, damp, or rodent-damaged, removal is the better path. If it’s clean and dry, topping up may be feasible after thorough air sealing and ventilation checks.
Attic: Loose-Fill Installation Overview
Prepare by sealing air leaks, installing baffles, and erecting dams around hatches, ducts, and platforms. Set depth markers that correlate to the settled depth needed for your target R-value. Keep the blowing machine outside and use two people—one to operate the machine and one to distribute material in the attic.
Start at the far perimeter and work toward the access point. Keep the hose at a consistent height and move steadily so the insulation falls and fluffs rather than compacting. Check depth markers frequently. Avoid covering soffit vents, and maintain clearance around heat-producing elements and non-IC-rated lights.
Attic: Batt Installation Overview
Choose batts sized for your cavities and allow them to expand fully before installation. Cut around obstructions carefully, and never compress batts to force a fit. Where your design allows, add a perpendicular layer of batts over joists to reduce thermal bridging. Maintain ventilation paths and clearances at all times.
Insulate the attic access door or hatch and weatherstrip its perimeter. This small detail prevents a significant bypass that would otherwise undermine your effort.
Walls: Open and Closed Assemblies
For open framing during renovations, fiberglass or mineral wool batts can be installed with precise cutting and full cavity coverage. For closed walls, dense-pack cellulose or fiberglass achieves uniform fill that resists settling. If adding continuous rigid foam to the exterior, tape seams and integrate the layer with the air and water control layers for a continuous thermal break.
Seal around windows and doors with low-expansion foam and gaskets before insulating adjacent cavities. Pay attention to rim joists and top plates—areas with outsized leakage potential.
Crawl Spaces and Floors
Install batts snug against the subfloor, using appropriate supports to prevent sagging. Seal penetrations through the floor to reduce stack effect. If pursuing crawl space encapsulation, coordinate insulation with ground vapor control and perimeter sealing to manage moisture safely.
Address drainage around the foundation. Persistent dampness will compromise insulation and can degrade indoor air quality. Correct exterior grading or water intrusions before installing insulation.
Mid-Project Checkpoint
Pause to verify that coverage is even, ventilation baffles remain clear, and clearances around flues and fixtures are maintained. Measure loose-fill depths at multiple points and confirm batt loft. If you want third-party confirmation of progress, reach out for professional guidance on insulation installation to validate the work and fine-tune details.
Photograph hidden assemblies before they are sealed. Good documentation helps future repairs and confirms quality for prospective buyers.
Thermal Bridging and Continuous Insulation
Framing members conduct heat, creating stripes of energy loss known as thermal bridges. Reduce this by cross-layering batts in attics, dense-packing wall cavities, and adding continuous foam board where feasible. Tape seams and seal penetrations to integrate the thermal layer with the air barrier.
At rim joists, rigid foam cut to fit and sealed at the edges is a reliable approach. In some advanced applications, closed-cell spray foam provides air sealing and high R-value in shallow spaces.
Quality Assurance After Installation
Inspect your work with a bright light and your hands. Feel for drafts at baseboards, outlets, and light fixtures. During a cool morning or warm afternoon, note any temperature variation between rooms. If you can arrange a blower-door test and thermal imaging during a temperature differential, you will gain a clear picture of remaining leaks or thin spots.
Insulate and weatherstrip attic hatches, and ensure exhaust fans discharge outdoors. Monitor indoor humidity in the first season after upgrades, adjusting ventilation if necessary to maintain a comfortable, dry interior.
Frequently Asked Questions
Q: How do I choose the right R-value for my attic?
A: Many California climates benefit from R-38 to R-49 in the attic. Confirm your local guidance and match the value to your roof configuration and ventilation plan.
Q: Should I remove existing insulation before topping up?
A: If the existing insulation is clean, dry, and not compacted, topping up can be effective after thorough air sealing. Remove and replace if there is contamination, dampness, or significant compression.
Q: What about vapor barriers?
A: In most California assemblies, focus on airtightness and controlled ventilation rather than heavy interior vapor barriers. The right approach depends on your microclimate and assembly details.
Q: Can I insulate over recessed lights?
A: Only if they are rated IC (Insulation Contact). Otherwise, maintain clearance or install approved barriers. Always follow manufacturer guidance and local safety requirements.
Q: How do I prevent blocking soffit vents?
A: Install baffles at the eaves before adding insulation. Keep the pathway above the insulation clear so air can flow from soffit to ridge or other exhaust vents.
Move Forward with Confidence
Insulation is one of the most impactful upgrades a California homeowner can undertake. By prioritizing air sealing, choosing materials suited to your climate, and installing with care, you will see the benefits in comfort, noise reduction, and energy use. If you are ready for expert support to accelerate the process, partner with pros in insulation installation and enjoy a home that performs beautifully in every season.