
Start Here: A Beginner-Friendly Overview
Tackling insulation removal for the first time can feel overwhelming—especially in Malibu, where coastal humidity, windborne ash, and salt-laden air test building materials in unique ways. This beginner-focused checklist walks you step-by-step through preparation, safe removal, cleanup, and what comes next, so you can protect your home and family. From basic safety to disposal and re-insulation planning, you will find practical guidance designed for first-time DIYers and new homeowners. As you plan the project, remember that safe removal sets the stage for efficient, healthy living—and for a smooth transition into effective insulation installation when you are ready to rebuild your thermal barrier.
Checklist Part 1: Planning and Safety
- Define the scope: Attic only, or crawlspace too? Identify all areas with old or damaged insulation.
- Identify insulation type: Batts, blown-in cellulose, loose-fill fiberglass, or spray foam. Each has different removal methods.
- Schedule for cooler hours: Malibu attics heat up quickly. Plan early morning work and build in breaks.
- Gather PPE: Respirator (P100 or equivalent), safety goggles, gloves, disposable coveralls, knee pads, and sturdy shoes.
- Electrical safety: Turn off attic circuits where feasible. Use a non-contact voltage tester and keep cords organized.
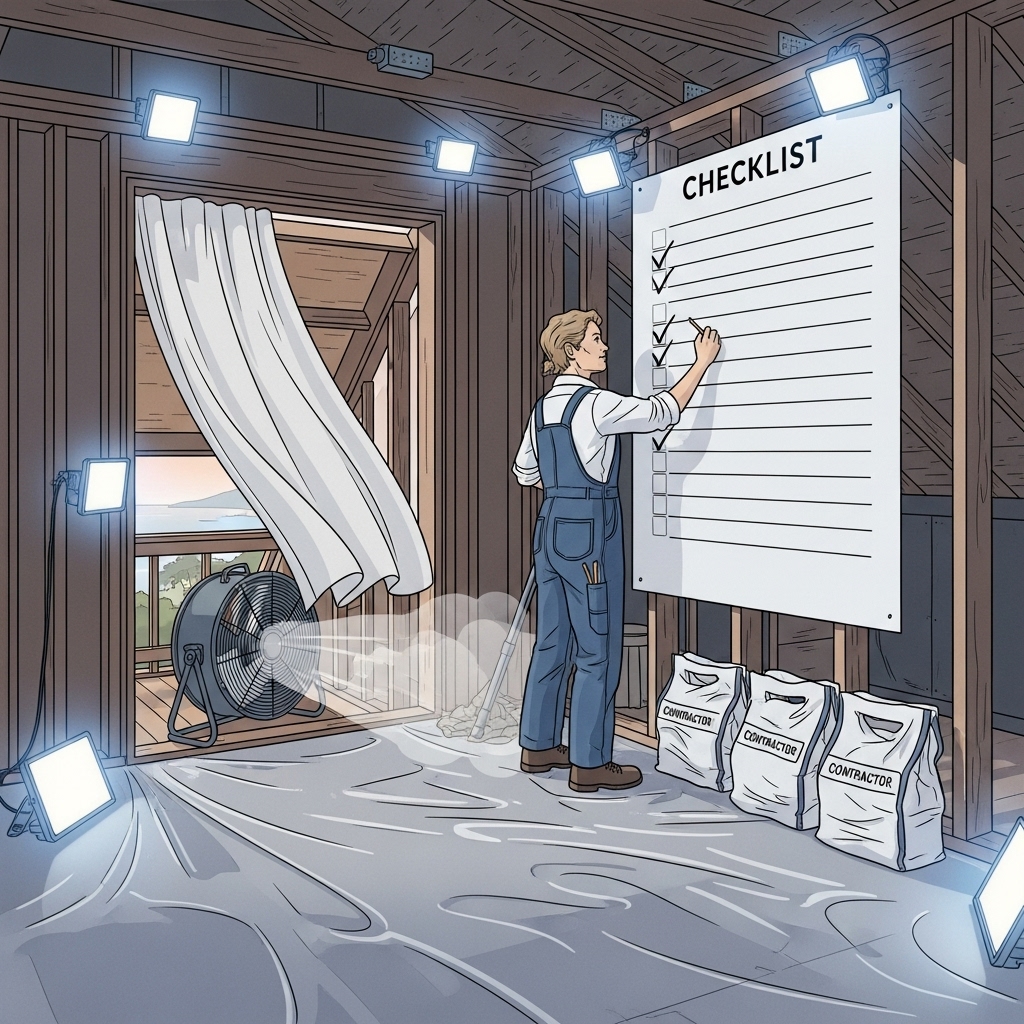
- Ventilation plan: Set up fans to exhaust dust out of the attic—not into living spaces.
- Lighting: Bring LED work lights for safe movement and detailed inspection.
- Helpers: Line up a partner to monitor safety, pass bags, and manage staging.
Checklist Part 2: Containment and Access
- Protect pathways: Lay plastic sheeting from entry to attic hatch.
- Seal openings: Tape plastic around the hatch and any nearby registers or returns.
- Staging area: Prepare a zone outdoors for sealed bags, shaded from direct sun.
- Attic boards: Place sturdy boards or planks across joists to prevent ceiling damage and to create safe kneeling areas.
Checklist Part 3: Tools and Supplies
- Contractor bags and labels
- Insulation removal vacuum (for loose-fill) with long hose and sealed collection bin
- HEPA shop vacuum for fine debris
- Utility knives, scrapers, oscillating tool (as needed for foam)
- Disinfectant rated for rodent cleanup if contamination is present
- Tape, sealants, and expanding foam for air sealing
- Soffit baffles and rulers for future depth checks
Checklist Part 4: Pre-Removal Inspection
- Moisture: Look for stains or dampness that suggest leaks. Address roof or flashing issues before re-insulating.
- Pests: Note nests, droppings, or chewed materials that warrant targeted cleanup and sealing.
- Wiring: Locate junction boxes, low-voltage wires, and any older or brittle lines for electrician follow-up.
- Ventilation: Confirm soffit and roof vents are unobstructed and plan baffles for later.
Checklist Part 5: Removal Steps by Material
Batts
- Start farthest from the hatch: Work back toward the exit to avoid trampling dust across cleared areas.
- Lift slowly: Fold batts into manageable sections and bag immediately.
- Watch facing: Keep kraft or foil facings intact to limit fiber release and avoid heat fixture contact.
Blown-In Cellulose
- Vacuum in lanes: Move the hose along joist bays, clearing down to the ceiling surface.
- Monitor hose clogs: Pause to clear blockages; don’t force material into the hose.
- Edge detail: Pay attention at eaves where material may be denser or damp.
Loose-Fill Fiberglass
- Close nozzle work: Keep the intake near the surface; this lightweight material can plume if agitated.
- Soffit protection: Keep material from falling into ventilation paths as you clear the perimeter.
Spray Foam
- Evaluate necessity: Remove only damaged or planned remodel areas if the foam is otherwise sound.
- Mechanical tools: Use oscillating tools and scrapers with care to avoid damaging the roof deck.
- Professional help: Consider hiring a pro if the area is extensive or access is limited.
Checklist Part 6: Bagging, Disposal, and Documentation
- Seal bags securely: Do not overfill; double bag if contamination is present.
- Label contents: Note material type and area (e.g., “Attic–Cellulose”).
- Transport safely: Move bags along protected pathways and load gently to avoid ruptures.
- Follow local guidance: Check Malibu/LA County disposal guidelines, particularly for contaminated materials.
- Before/after photos: Document conditions for your records and future planning.
Checklist Part 7: Cleaning and Sanitizing
- HEPA vacuum: Clean joists, decking, and top plates thoroughly.
- Disinfect as needed: Apply appropriate cleaners for rodent-affected areas, following label directions.
- Odor control: Use enzyme-based solutions for organic odors rather than masking sprays.
Checklist Part 8: Air Sealing and Attic Improvements
- Seal penetrations: Foam or caulk around wiring, plumbing stacks, and top plates.
- Chimney/fire safety: Use fire-rated barriers and maintain clearances per code.
- Ducting fixes: Ensure bath and kitchen fans vent outdoors with insulated ducts.
- Soffit baffles: Install baffles to keep future insulation clear of intake vents.
Checklist Part 9: Preparing for Re-Insulation
Once removal and cleaning are complete, you’re ready to choose materials and schedule your rebuild. Malibu’s coastal conditions reward materials that resist moisture and maintain loft. Whether you prefer batts, blown-in fiberglass, or hybrid systems, plan for proper R-values and ventilation. Coordinate timing so your new thermal layer goes in soon after cleaning to keep dust from resettling. If you want a smooth handoff from removal to rebuild, plan your insulation installation alongside air sealing and ventilation upgrades.
Beginner Mistakes to Avoid
- Skipping PPE: Even quick jobs release dust and fibers; always gear up.
- Overstuffing bags: Leads to rips and messy spills.
- Ignoring soffits: Blocking vents undermines future performance.
- Leaving leaks: Re-insulating without fixing moisture sources invites repeat problems.
- Under-lighting: Poor visibility increases the chance of missteps and ceiling damage.
Frequently Asked Questions
Q: How long does beginner removal usually take? A: It depends on attic size, material type, contamination, and access. Plan ample time, frequent breaks, and a realistic daily goal.
Q: Can I reuse old batts? A: If insulation is clean, dry, and undamaged, you might repurpose it, but most removals occur because materials are compromised. New materials typically perform better and meet current codes.
Q: Do I need a professional vacuum? A: For loose-fill, yes—it dramatically speeds work and reduces dust. Many equipment rental shops carry insulation removal vacuums.
Q: What about wildfire ash? A: Treat it as a contaminant: wear proper respirators, use containment, and bag carefully to prevent spread.
Q: Should I add radiant barriers? A: In Malibu’s sunny climate, radiant barriers can help when properly installed with ventilation; consider them during the planning phase.
Local Malibu Considerations
- Coastal moisture: Verify that bath fans and dryer vents exhaust outdoors to limit attic humidity.
- Corrosion watch: Inspect metal fasteners and HVAC components for salt-air corrosion when the attic is open.
- Wildlife control: Screen gable and soffit vents to keep rodents and birds out after cleanup.
Make Your Next Move with Confidence
You have a clear, beginner-ready roadmap to remove old insulation safely and set up your Malibu home for lasting comfort. Finish strong by scheduling a professional-grade insulation installation that complements your air sealing and ventilation work. With the right plan and support, your refreshed attic will improve comfort, efficiency, and indoor air quality for years to come.